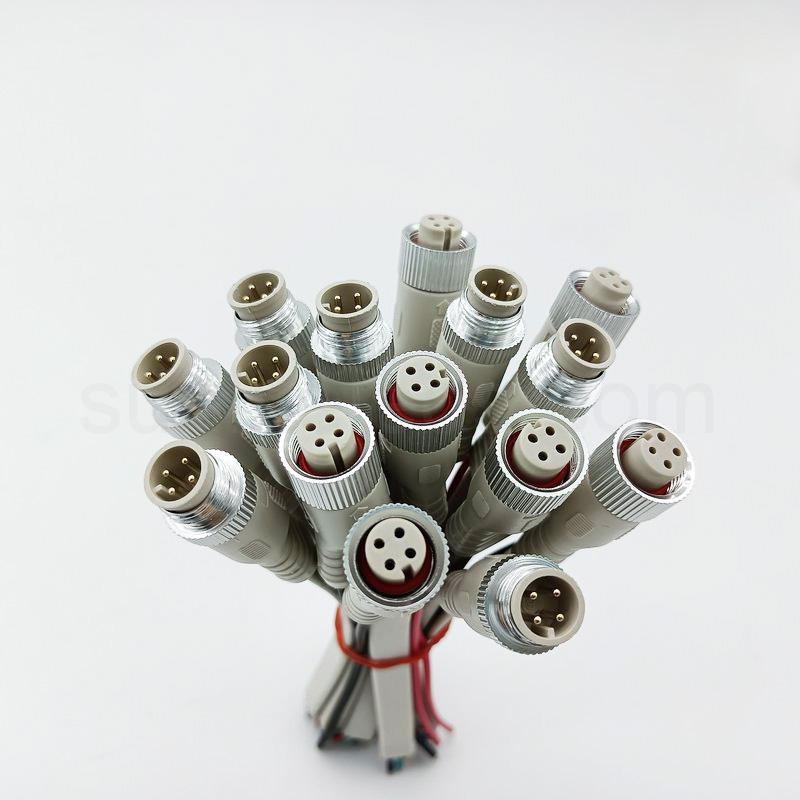
These strip-to-wire connectors are solutions for waterproof LED light strip connection and extension needs. Suitable for TM1934/UCS5603/WS2818/WS2813/WS2815 RGB LED Strip.
Application: Widely applied in LED strip lights, etc.
Feature:
* Waterproof level IP65, easy installation.
* Quality is first.
* One-stop production factory
* Short delivery time.
About this item
Connect strip to wire without stripping insulation, no soldering, no need to peel off the waterproof cover, quick and flexible connection, save 2/3 time.
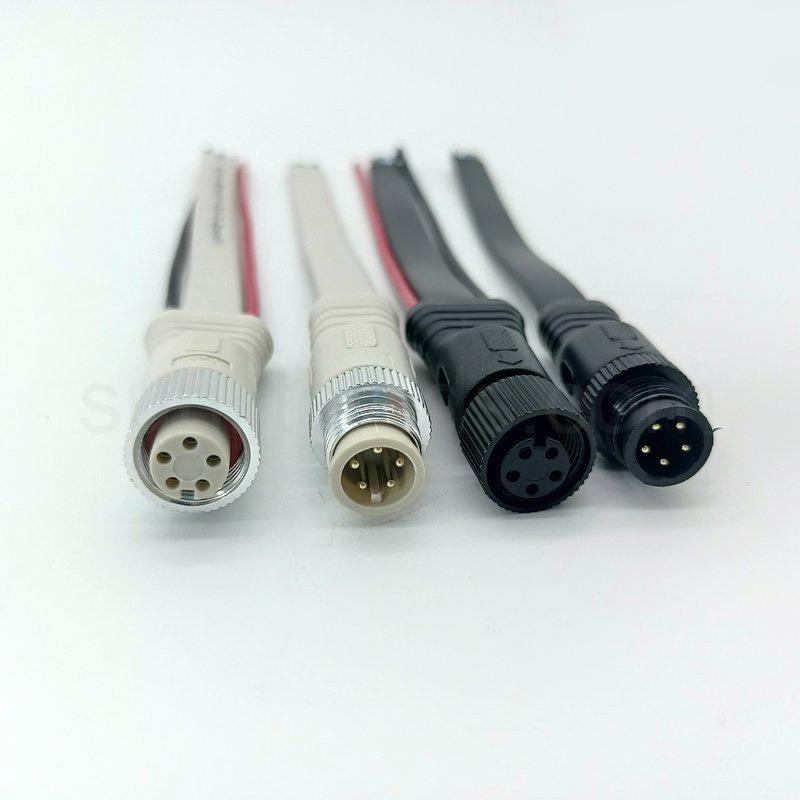
Work for IP65 waterproof RGB 4-pin strip light, suit for 22-20 AWG Solid Wire / Strand Wire.
High-quality PVC plastic wire cover and tin-plated copper core ensure steady, safe, and long-lasting connection; Fire-proof Nylon housing and high precision brass connector are durable and powerful, firmly bite through the led light strip, and much stronger than old-style connectors.
| Product Name | Waterproof 4 pin cable for pixel strip light |
| OEM/ODM | YES |
| Standard length | 15cm or customisable |
| Standard AWG | 20 22 24 awg |
| Standard OD | 4.5mm(4.0mm/5.0mm) |
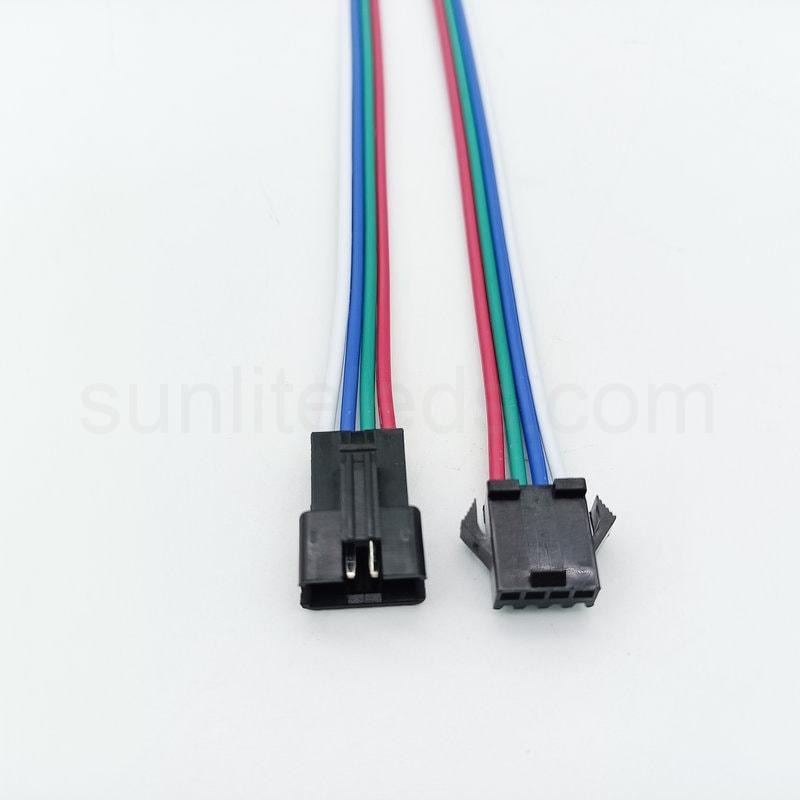
| Pole | 4 pin |
| Color | black/white/customisable |
Related Products
How to Connect 4 Pin Cable to LED Strip ?
Things You Will Need
Before you start, gather the following items:
LED strip (TM1934/UCS5603/WS2818/WS2813/WS2815 RGB LED Strip is available)
4-pin cable connector
Power supply (compatible with your LED strip)
Wire stripper (optional)
Soldering iron and solder (optional)
Step by Step: Connect 4-Pin LED Strip
Step 1: Gather Your Materials
Make sure you have all the necessary items listed above before starting the connection process.
Step 2: Identify the Connections on the LED Strip
Locate the 4-pin connection points on your LED strip. These are typically labeled with “R,” “G,” “B,” and “+” symbols, representing the red, green, blue, and power connections, respectively.
Step 3: Prepare the Power Supply
Ensure your power supply is compatible with your LED strip’s voltage and current requirements. If necessary, strip the ends of the power supply wires to expose the conductive material.
Step 4: Connect the 4-Pin Connector to the LED Strip
Align the 4-pin connector with the connection points on the LED strip, matching the labeled pins with their corresponding symbols. Gently press the connector onto the strip until it clicks into place.
Step 5: Connect the Power Supply to the 4-Pin Connector
Attach the power supply wires to the appropriate terminals on the 4-pin connector. If your connector has screw terminals, loosen the screws, insert the wires, and then tighten the screws. If your connector requires soldering, heat the soldering iron and carefully solder the wires to the terminals.
Step 6: Test the LED Strip
Plug the power supply into an electrical outlet and observe the LED strip. If everything is connected correctly, the strip should light up. If not, refer to the troubleshooting section below.
Tips and Warnings on How to Connect 4-Pin Cable to LED Strip
Always disconnect the power supply before making adjustments to your LED strip.
Ensure the power supply meets the LED strip’s voltage and current requirements.
Verify that the 4-pin connector is securely attached to the LED strip.
Avoid pulling or bending the LED strip excessively, as this can damage the internal components.
Conclusion
Connecting a 4-pin LED strip doesn’t have to be a daunting task. By following the step-by-step guide above and considering our tips and warnings, you can successfully install your LED strip and enjoy the customizable lighting options it provides.
FAQs
Can I use a 3 pin connector for a 2 pin LED strip?
No, you should use a connector that matches the number of pins on your LED strip.Can I use a 4 pin connector for a 3 pin LED strip?
You can use a 4 pin connector for a 3 pin LED strip, but the extra pin will not be used.Can I use a 2 pin connector for an RGB LED strip?
No, you will need at least a 3 pin connector for an RGB LED strip. For example, if it is SM16703/WS2811/USC1903 TTL RGB LED strip, 3 pin cable is needed. But if it is TM1934/UCS5603/WS2818/WS2813/WS2815 RGB LED Strip,4 pin cable is needed. If it is a DMX RGB LED strip, then you may need to use 5 pin cable.Can I use a 3 pin connector for an RGBW LED strip?
It depends on what type of led strip. USC 2904/TM1814 RGBW led strip needs a 3-pin cable. But SK6812/TM 1834/USC 7604 RGBW led strip needs 4 pin cable. DMX RGBW led strip may need 5 pin cable.