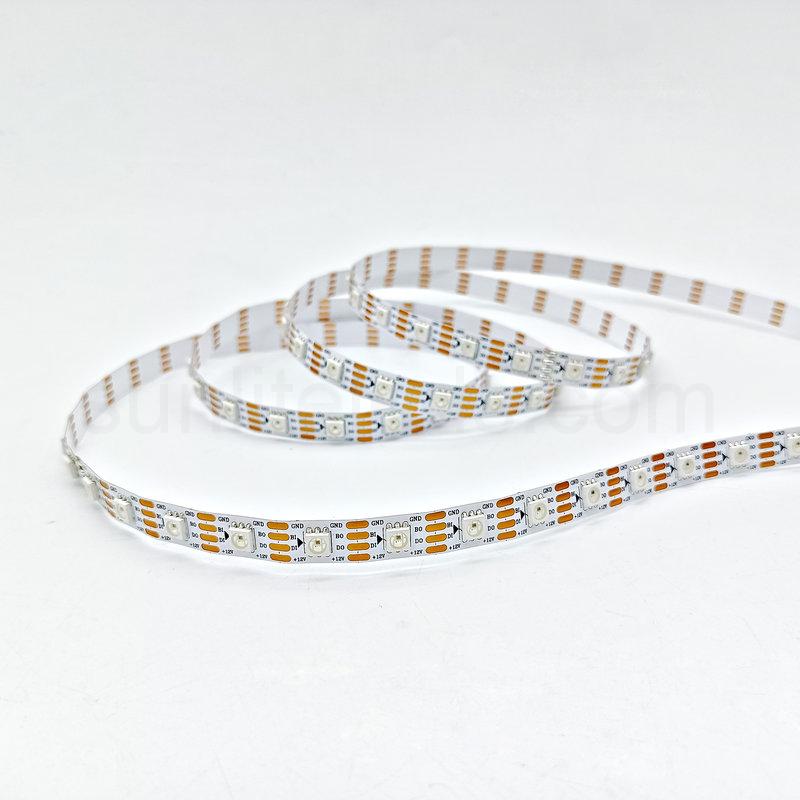
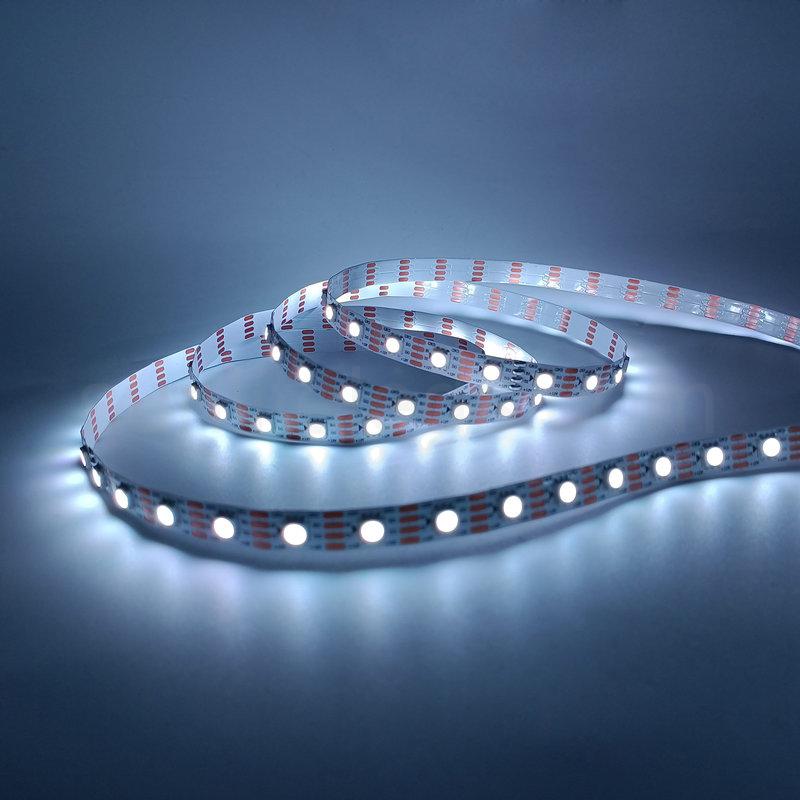
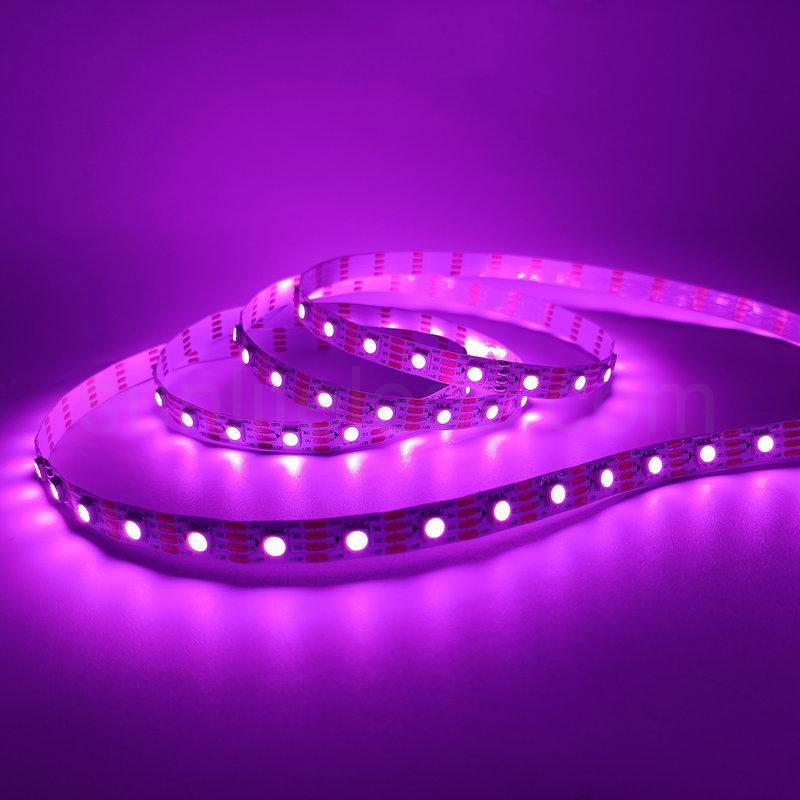
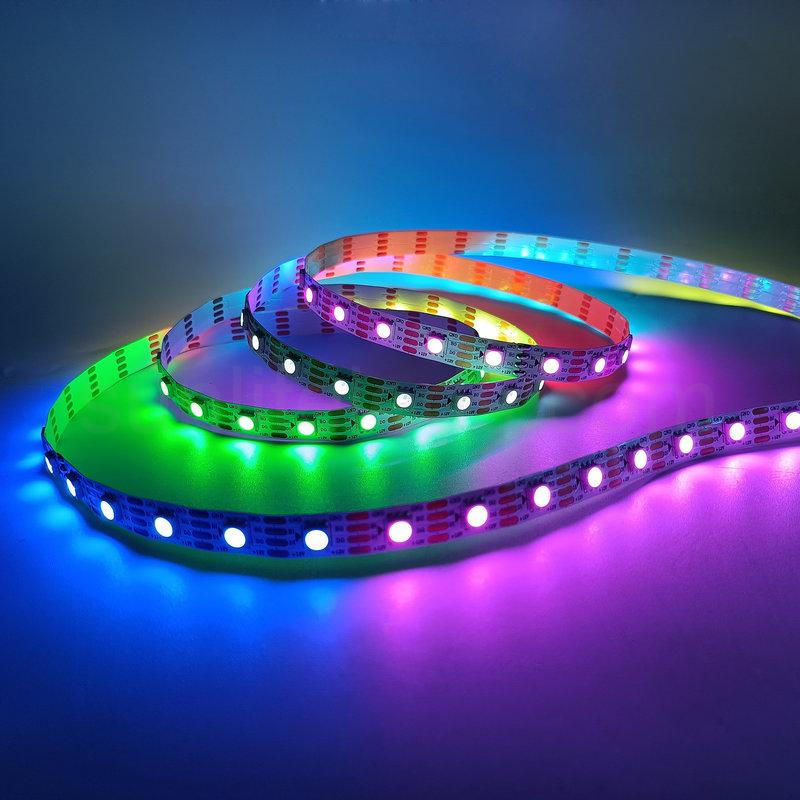
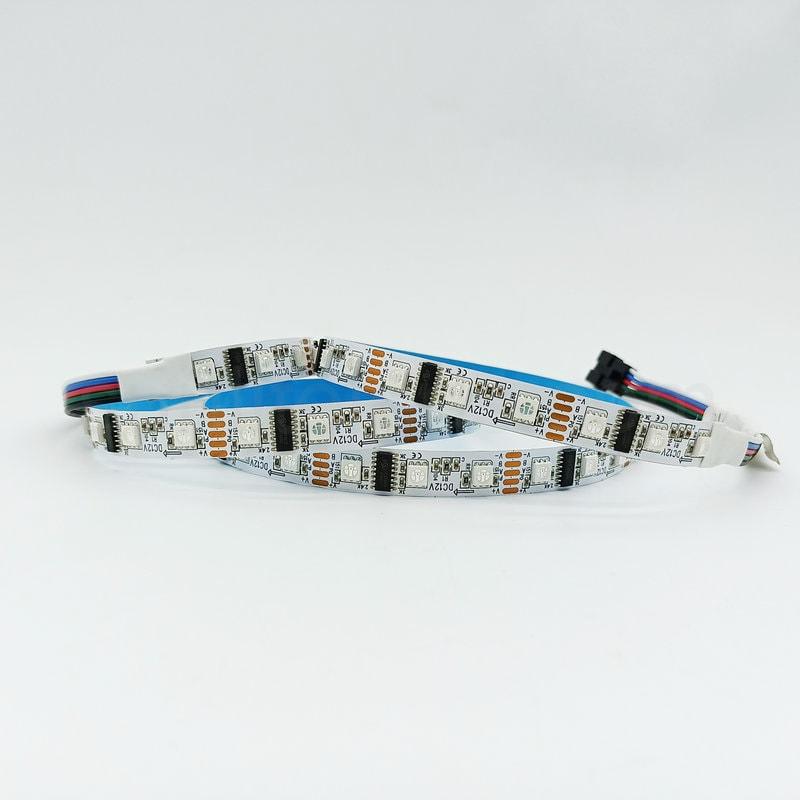
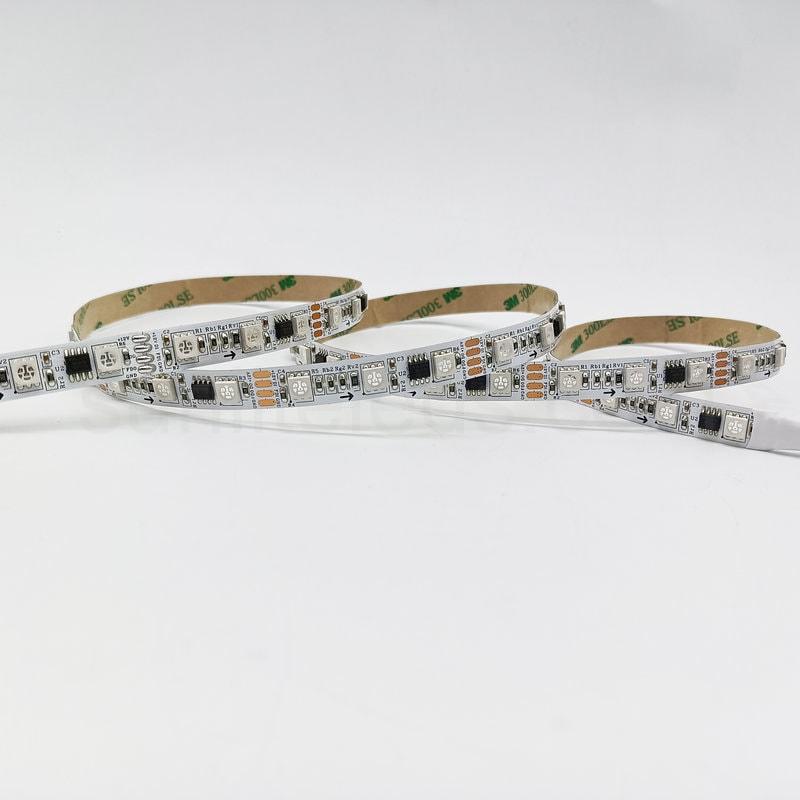
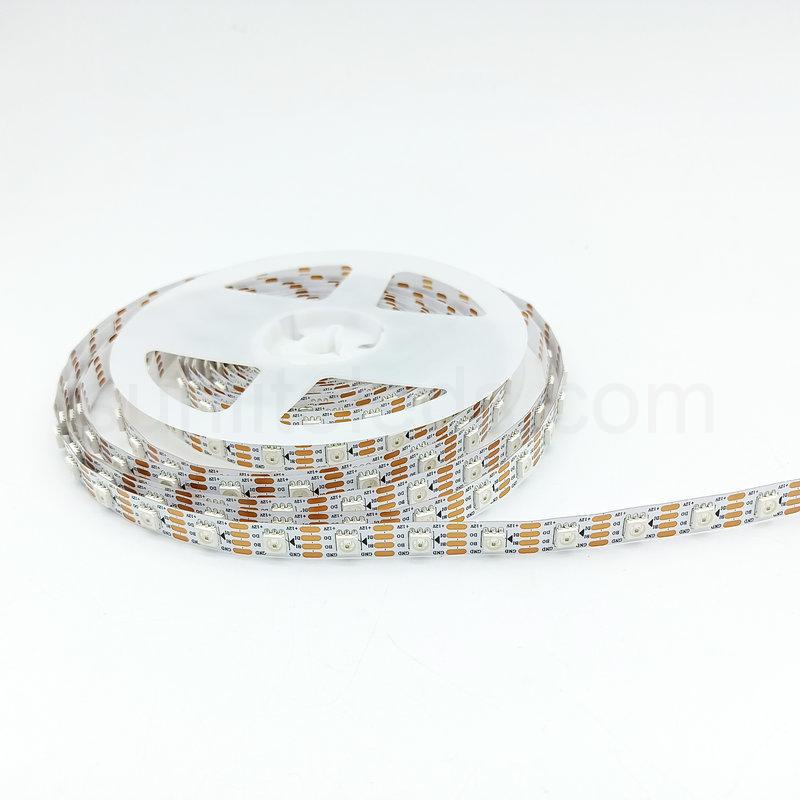
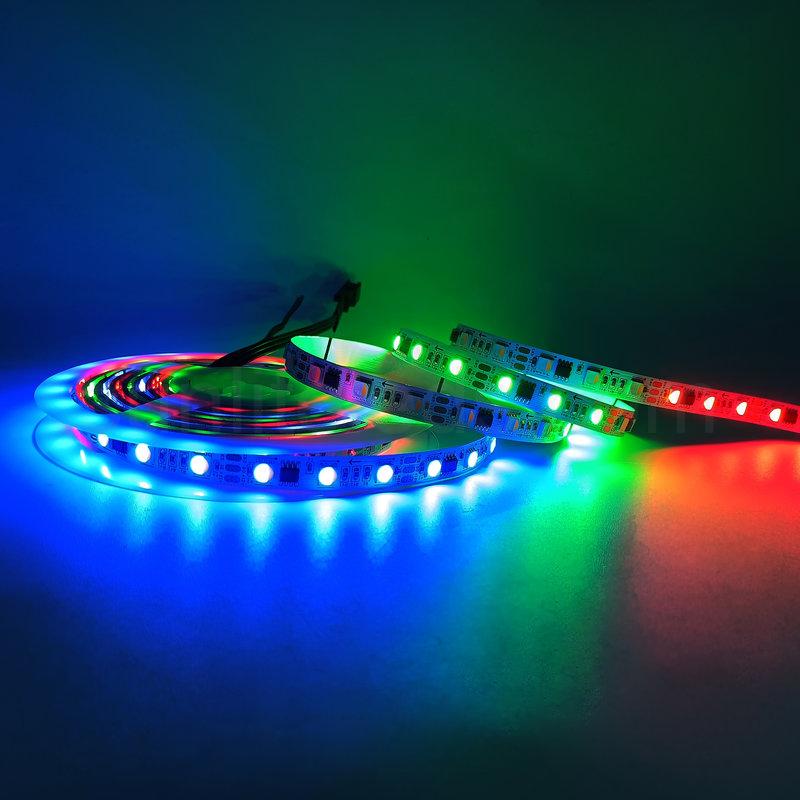
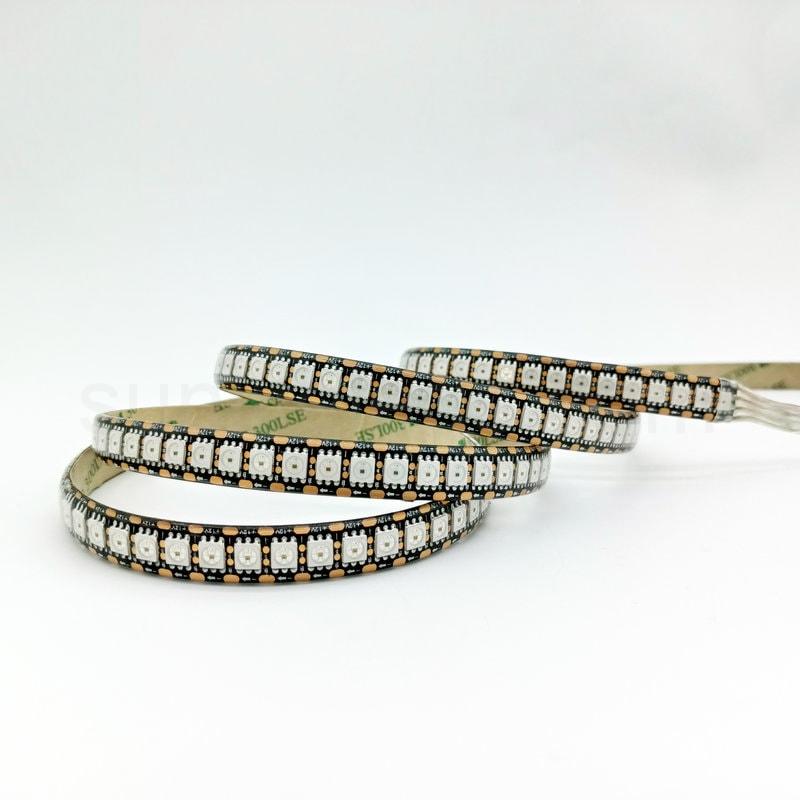
Search
Close this search box.

APA102 Arduino LED Strip

Chinese professional LED pixel light strip manufacturer and supplirt 

APA102 Arduino LED Strip Lighting

APA102 LED strip
APA102 arduino LED strip suntechlite
APA102 arduino LED strip RGB
APA102 arduino LED strip top

APA102 arduino LED strip can be used in a variety of multi-purpose lighting projects. The fast refresh rate and precise color management of the APA102 IC can be employed in architectural lighting, to provide dynamic and eye-catching lighting effects in a range of interior situations.   

Moreover, APA102 LED strip lights are frequently used for decorative lighting in establishments like pubs, restaurants, and shops. Stage and event lighting is another common use for APA102 arduino LED strip lights. After specific programming, the high refresh rate and quick color changes of the APA102 protocol may be used to provide dynamic and engrossing lighting effects.

Related Products You May Need:

Accessories:

Cable Connectors

Controllers

Why APA102 Arduino LED Strip Is the Best LED Strip for Your Next Arduino Project?

Table of Contents

Introduction

APA102 arduino LED strip light can be used for various festival lighting and entertainment lighting projects. It is a programmable LED strip and each LED can be individually controlled so that you can control each LED lighting precisely to create a high end delicacy lighting show.  Arduino is a popular open-source microcontroller platform that can be used to control Pixel LED lighting products. In this article, we will discuss how to connect an APA102 LED strip to an Arduino and how to program the Arduino to control it.

What Is an APA102 LED Strip?

The APA102 chip is used to control the LED light strip, and has a clock line and a data line for high-speed communication with the LED. It updates the color and brightness of the LEDs at a very high frequency for smooth color transitions and animations. The APA102 LED strips are available in a variety of lengths and densities. They can also be cut to size and re-soldered if desired.

APA102 LED strips are typically used in applications that require precise control of color and brightness, such as stage lighting or architectural lighting. They are also popular for DIY projects and creative lighting designs due to their flexibility and programmability.

What Is an Arduino?

Arduino is an open source microcontroller platform that can be used to control LED strips. It is a popular platform for hobbyists and makers for various projects. The Arduino platform is easy to use and has a large code library that can be used to control LED strips. To control an LED strip with an Arduino, you connect the Arduino board to the strip using wires or connectors, and then use a program written in the Arduino programming language to control the LEDs. The program can be used to change the color, brightness and pattern of the LEDs and create complex lighting effects.

How to Connect APA102 LED Strips to an Arduino

Connecting an APA102 LED strip to an Arduino is a simple process that only takes a few steps:

1. Gather your materials: You’ll need an APA102 arduino LED strip, an Arduino board, a breadboard, jumper wires, and a power source (such as a USB cable or battery pack).

2. Connecting the LED Strip: Use jumper wires to connect the APA102 LED strip to the breadboard. Make sure to connect the data wire (usually labeled “DI”) to one of the digital pins on the Arduino board, and the clock wire (usually labeled “CI”) to a different digital pin.

3. Connect Power: Use jumper wires to connect the power and ground wires of the APA102 LED strip to the corresponding pins on the Arduino board. You may also need to connect a separate power supply to the breadboard, depending on the power requirements of the LED strip.

4. Write a program: Write a program using the Arduino programming language to control the LEDs on the APA102 light strip. There are many libraries available for controlling the APA102 LED strip with Arduino that can simplify the programming process.

5. Upload program: use the USB data cable to connect the Arduino development board to the computer, and use the Arduino IDE software to upload the program to the development board.

6. Test the LED strip: After the program is uploaded, disconnect the Arduino board from the computer and connect it to a power source. The LED strip should light up according to the instructions in the program. If not, check your wiring and programming to make sure everything is correct.

Once the APA102 LED strip is connected to the Arduino, it can be programmed to control the LED strip. This is done by writing a program using the Arduino programming language. This program will tell the Arduino how to control the LED strip. The program can be used to set the brightness and color of each LED, as well as create various lighting effects.

Programming Arduino for APA102 LED Strips

Use these instructions to program an Arduino to control APA102 LED strips:

First step: Install the FastLED library. 

It is the basic necessary device needed in order to control APA102 LED strips with an Arduino. In addition to being compatible with APA102 strips, this library offers a selection of functions for controlling LED strips.

Second step: Hardware set up. 

Connect the APA102 LED strip with Arduino. Use the FastLED library to define the APA102 LED strip in your Arduino program. You need to define the data pin, clock pin, and total number of LEDs in the strip must all be specified.

Third step: 

Start program and set the program loop: You can customize the program to create different lighting effects, change the color of individual LEDs, and more, and then set the loop.

Last step: Upload your customized program.

Upload your customized program: Once you have finished writing programs, upload them to the Arduino board using the Arduino IDE software. Once the program is uploaded, the LED strip will light up according to the uploaded programs.

Tips for Working with APA102 Arduino LED Strip

Here we sorted some tips for you to light up the APA102 arduino LED strip:

1. It is important to make sure that the power, data, and ground wires connections are correct. If the connections are not correct, the LED strip cannot work correctly.

2. Please confirm that the data pins are connected correctly. If the data pins are not connected correctly, the LED strip may not be able to receive data from the Arduino.

3. Ensure the program is written correctly. If the program is not written correctly, the LED strip also cannot work normally.

Conclusion

The APA102 arduino LED strip is a type of addressable LED strip that can be used for home decor, party lighting, stage lighting, and other color changing lighting projects. Except for Arduino, there are many LED controllers that are compatible to control the APA102 LED strip. You can choose the cotroller as you like but need to connect the power and data wires in the right way.

FAQs

1. What advantages does employing the APA104 RGB LED Tape Light offer?

Both beginners and expert users will find the APA104 RGB LED Tape Light to be simple to use and easy to program using Arduino. Users may produce a wide range of effects, from basic fades to intricate color cycles, with the correct hardware and programming. Because of this, it’s ideal for generating distinctive atmospheres in your house or lighting a stage.

2. How do I install the APA102 Arduino LED strip light?

APA102 RGB LED tape lights have 3M adhesive tape on the backside and you can fix the strip with mounting clips. Before installation, it is important to clean the surface where the tape light will be applied to ensure proper adhesion. It is also important to properly connect the tape light to a compatible controller and power supply to ensure proper functionality.

3. Can you dim the APA102 Arduino LED strip light?

Yes, we can dim the APA102 RGB LED tape light using a suitable controller or dimmer. The majority of controllers and dimmers that accept the APA102 protocol will let you change the brightness of the digital LED tape light.

Enquiry