● Can be customized to support almost every kind of one-wire or two-wire LED-DRIVER-IC;
● The receiver controller has two kinds of working voltage :5V-supply-voltage or 12V-supply-voltage;
● Cautions: Please make sure the power supply voltage is match to your controller before you power it.
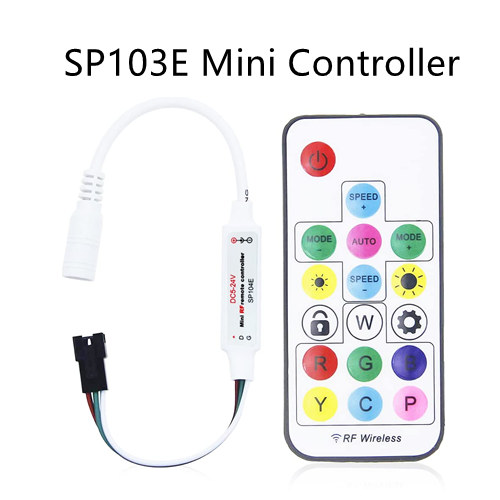
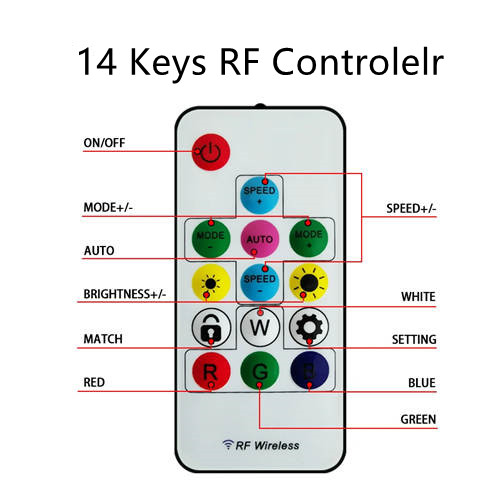
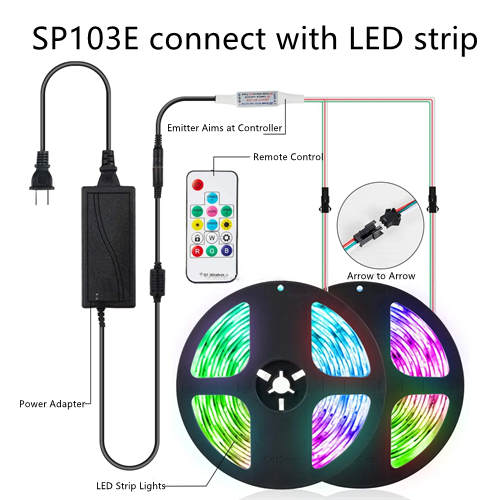
1. RF Remote control, long distance, mini size, wire connection is simple and very easy to use;
2. Support almost every kind of one-wire or two-wire LED-DRIVER-IC ;(Can be customized)
3. With 300 kinds of patterns, which are vivid and beautiful;
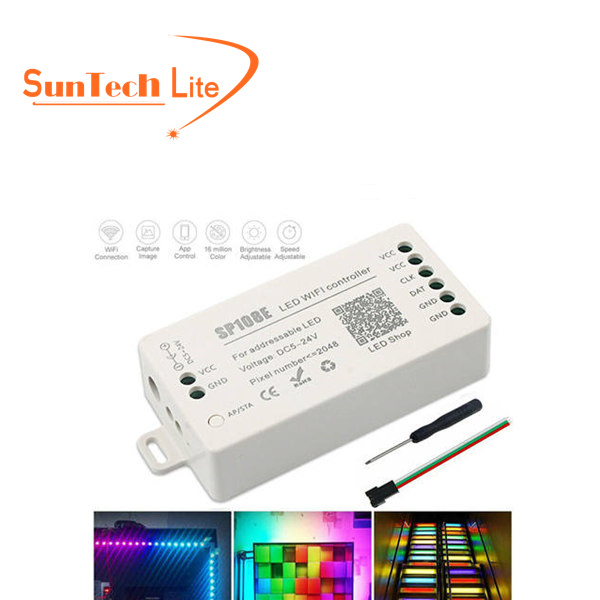
4. Each controller can control up to 2048 pixels;
5. With user setting saving functionality;
6. Brightness adjustable.
7. Preventing reverse connection of power supply.