Suntech Lite is a top manufacturer and supplier that focuses on pixel LED strips and LED neon lights.
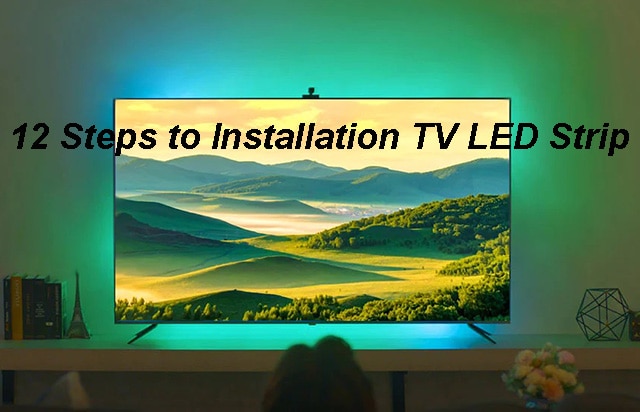
Illuminate Your TV with DIY LED Strip Magic: 12 Simple Steps to Transform Your Viewing Experience! Let’s Dive In!
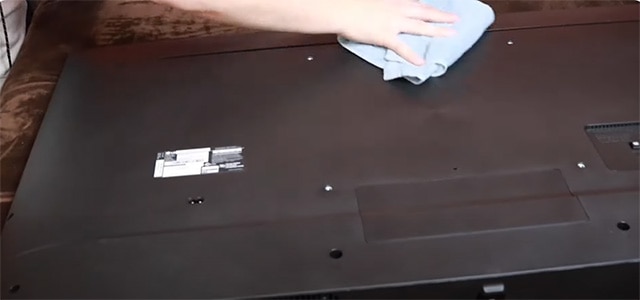
Step 1: Using a dry towel, clean the back of the TV.
When performing this installation, we recommend placing your TV on a level and soft surface.
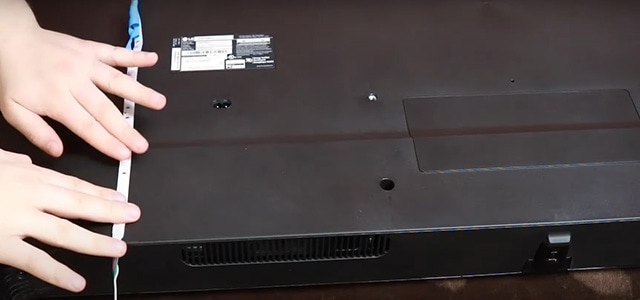
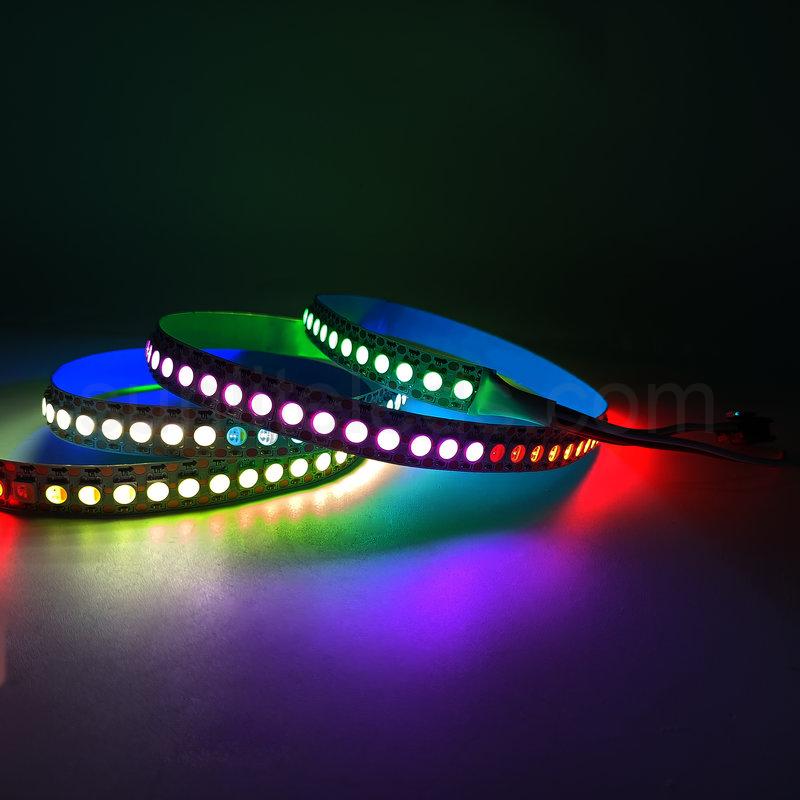
Step 2: Unroll the LED strip from its roll.
Usually the LED strip is 5 meters or 10 meters per roll. It depends on the size of the TV.
Step 3: To uncover the adhesive, remove the plastic lining.
Expose a little bit of adhesive at a time to avoid splinters from getting on the rest of the adhesive.
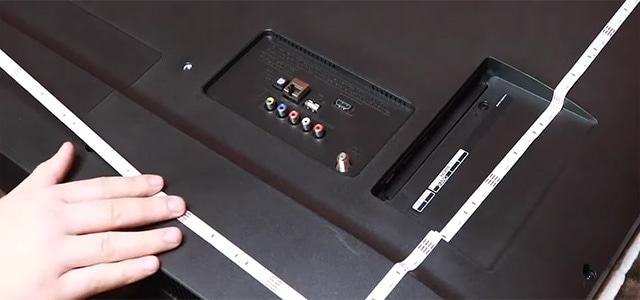
Step 4: Begin the installation on the TV’s left corner, leaving the connection end dangling over the edge.
Be careful not to let the adhesive stick to your hands.
Step 5: Start by running the LED strip up slowly. Take your time and take it slow.
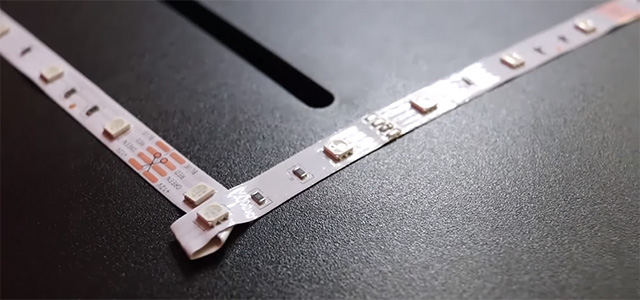
Step 6: Make a 90° loop at each corner and then run the LED strip to the next corner.
Step 6 should be repeated until you have gone around the entire TV.
Remember to keep pressing down on the LED strip with your fingertips to keep the glue in place.
Note: You can choose S-type LED strip to avoid the bending problem.
Step 7: Check that the LED strip is flat along the whole installation route.
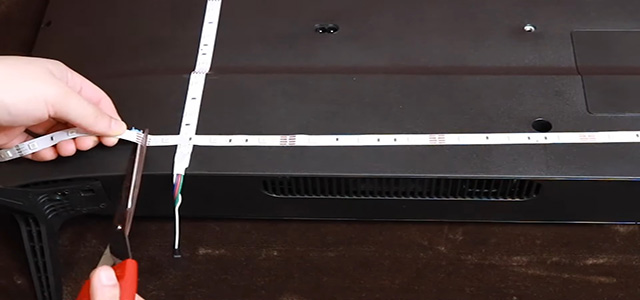
Step 8: Cut the extra at the indicated cutting mark after you’ve reached the starting point.
Note: You must cut along the cutting line. Note that some light strips have 3 lights and one cut, and some light strips have one light and one cut. It depends on the type of light strip you have.
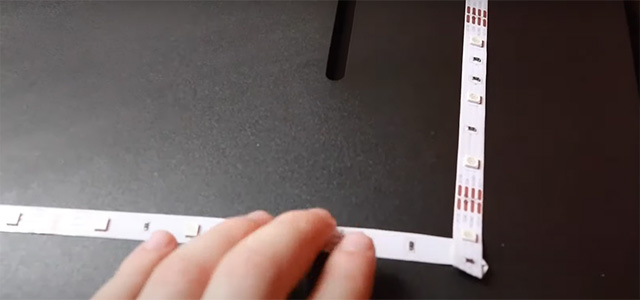
Step 9: Return to the LED strip and press down with your fingertips to help the glue attach.
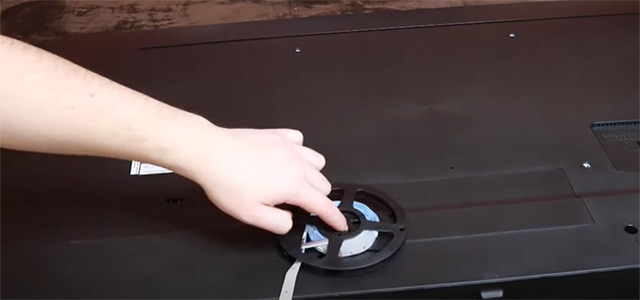
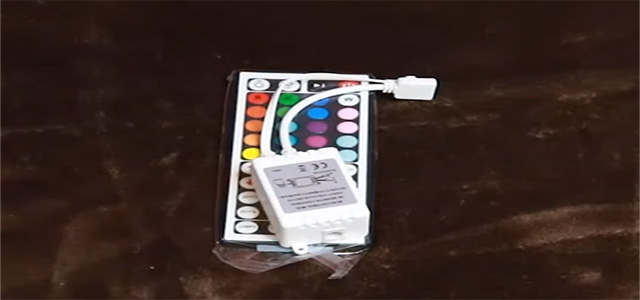
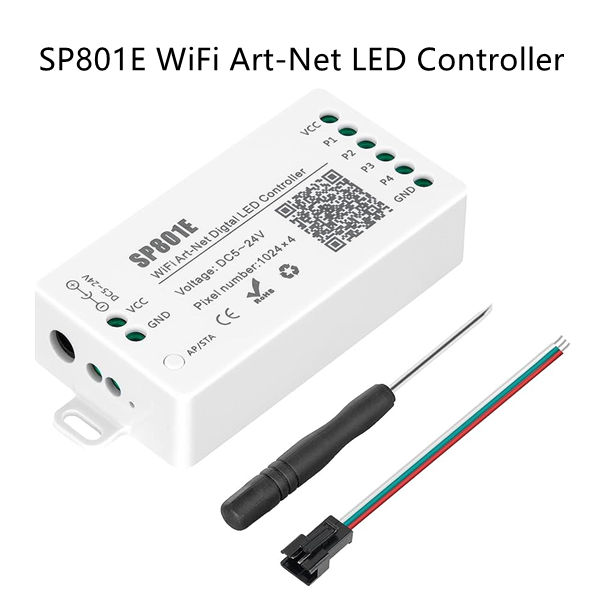
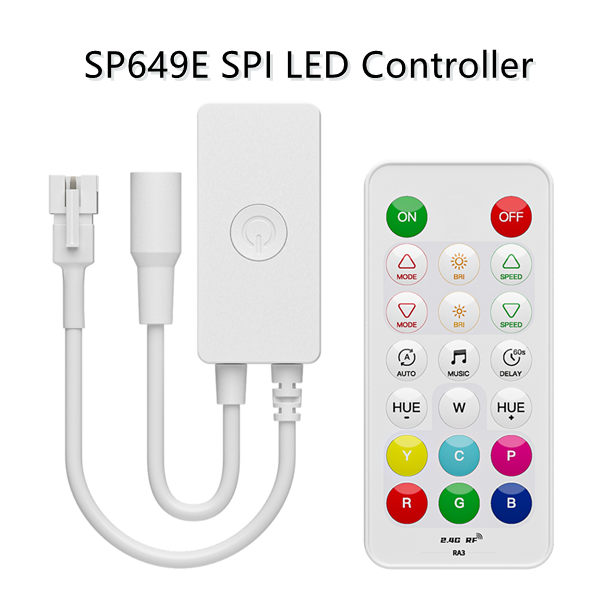
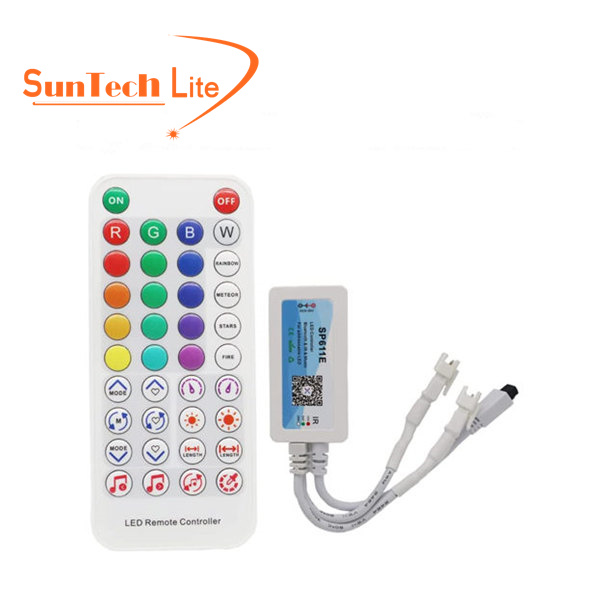
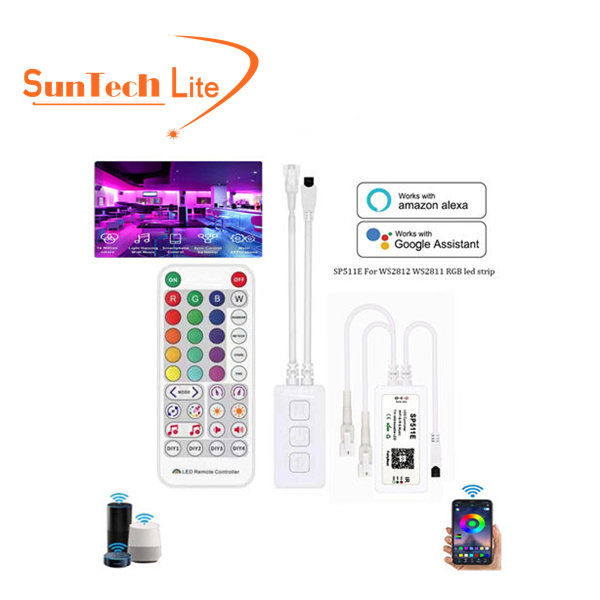
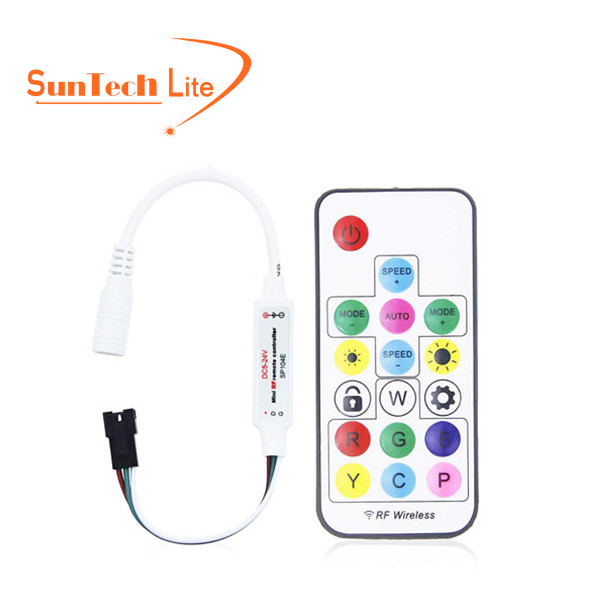
Step 10: Connect the IR receiver (the white box receiver) to the power supply.
Of course, the light strip controller here chooses the mini controller. You can refer to the recommendation at the bottom of the article.
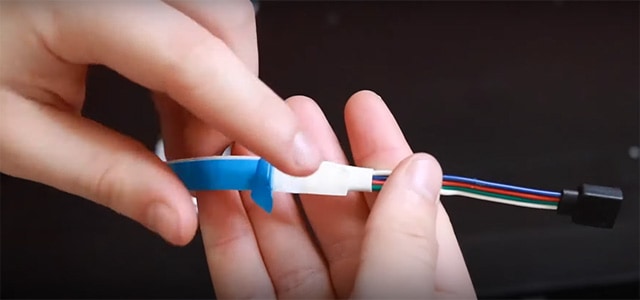
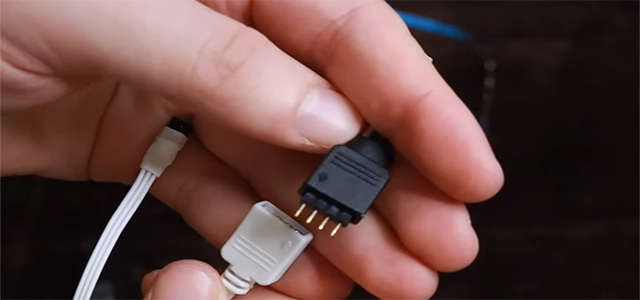
Step 11: Connect the LED strip to the IR receiver. Make certain that the arrows on both connections are aligned.
Step 12: Congratulations, you are finished. Simply plug in and enjoy the TV light show.